
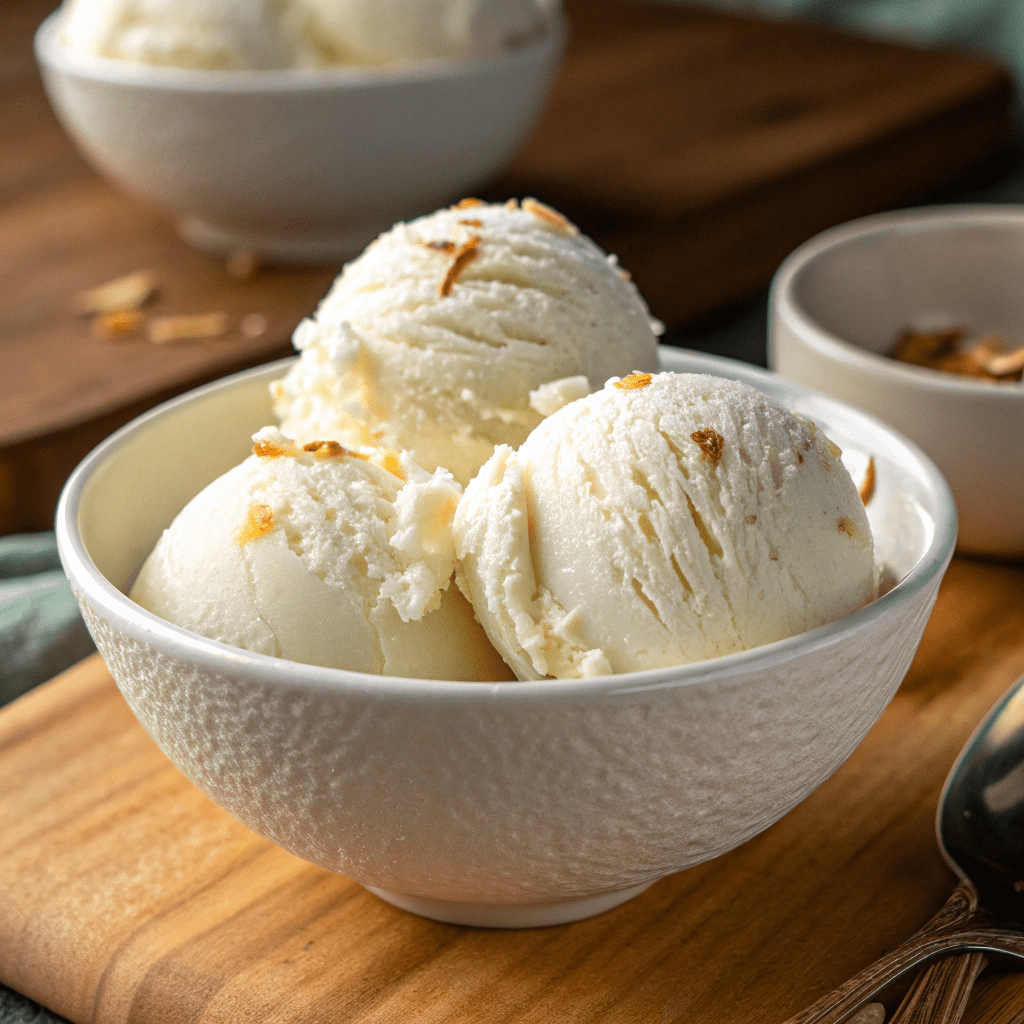
Here’s a simple and creamy recipe for Vegan Vanilla Ice Cream using your Ninja Creami machine! This recipe creates a smooth and delicious base for anyone who loves classic vanilla ice cream.
Yield: 4 Servings
Ingredients:
- 1 cup canned full-fat coconut milk, chilled (thick solid part at top)
- 1 cup full fat oat milk (or any other plant-based milk)
- 1/2 cup organic cane sugar (or maple syrup for a sweeter option)
- 1 tbs vanilla extract
- 1 pinch of salt
Instructions:
- Prepare the Ice Cream Base:
- In a saucepan, combine the coconut milk, oat milk, sugar, and salt. Heat the mixture over medium heat, stirring frequently, until the sugar is fully dissolved and the mixture is warm (but not boiling).
- Add Vanilla:
- Stir in the vanilla extract and let the mixture cool to room temperature.
- Chill the Mixture:
- Transfer the cooled mixture to the refrigerator and chill for 2-3 hours, or until completely cold.
- Freeze the Mixture in the Ninja Creami:
- Once the mixture is chilled, pour it into the Ninja Creami pint container. Ensure the mixture does not exceed the “MAX FILL” line.
- Place the lid on the container and freeze for at least 24 hours.
- Process the Ice Cream:
- After 24 hours of freezing, remove the pint from the freezer and place it into the Ninja Creami machine.
- Select the “Ice Cream” or “Gelato” function on your Ninja Creami and let it process until smooth.
- Check the Texture:
- After the first cycle, if the texture is too soft, use the “Re-spin” function until you get the desired consistency.
- Serve:
- Serve immediately, or store the ice cream in an airtight container in the freezer for up to 1 week.
Optional Add-ins:
- Add mix-ins like chocolate chips, crushed cookies, or fruit once the ice cream is processed, using the “Mix-In” function on your Ninja Creami.
Enjoy your smooth, rich, and creamy vegan vanilla ice cream made with your Ninja Creami machine!